

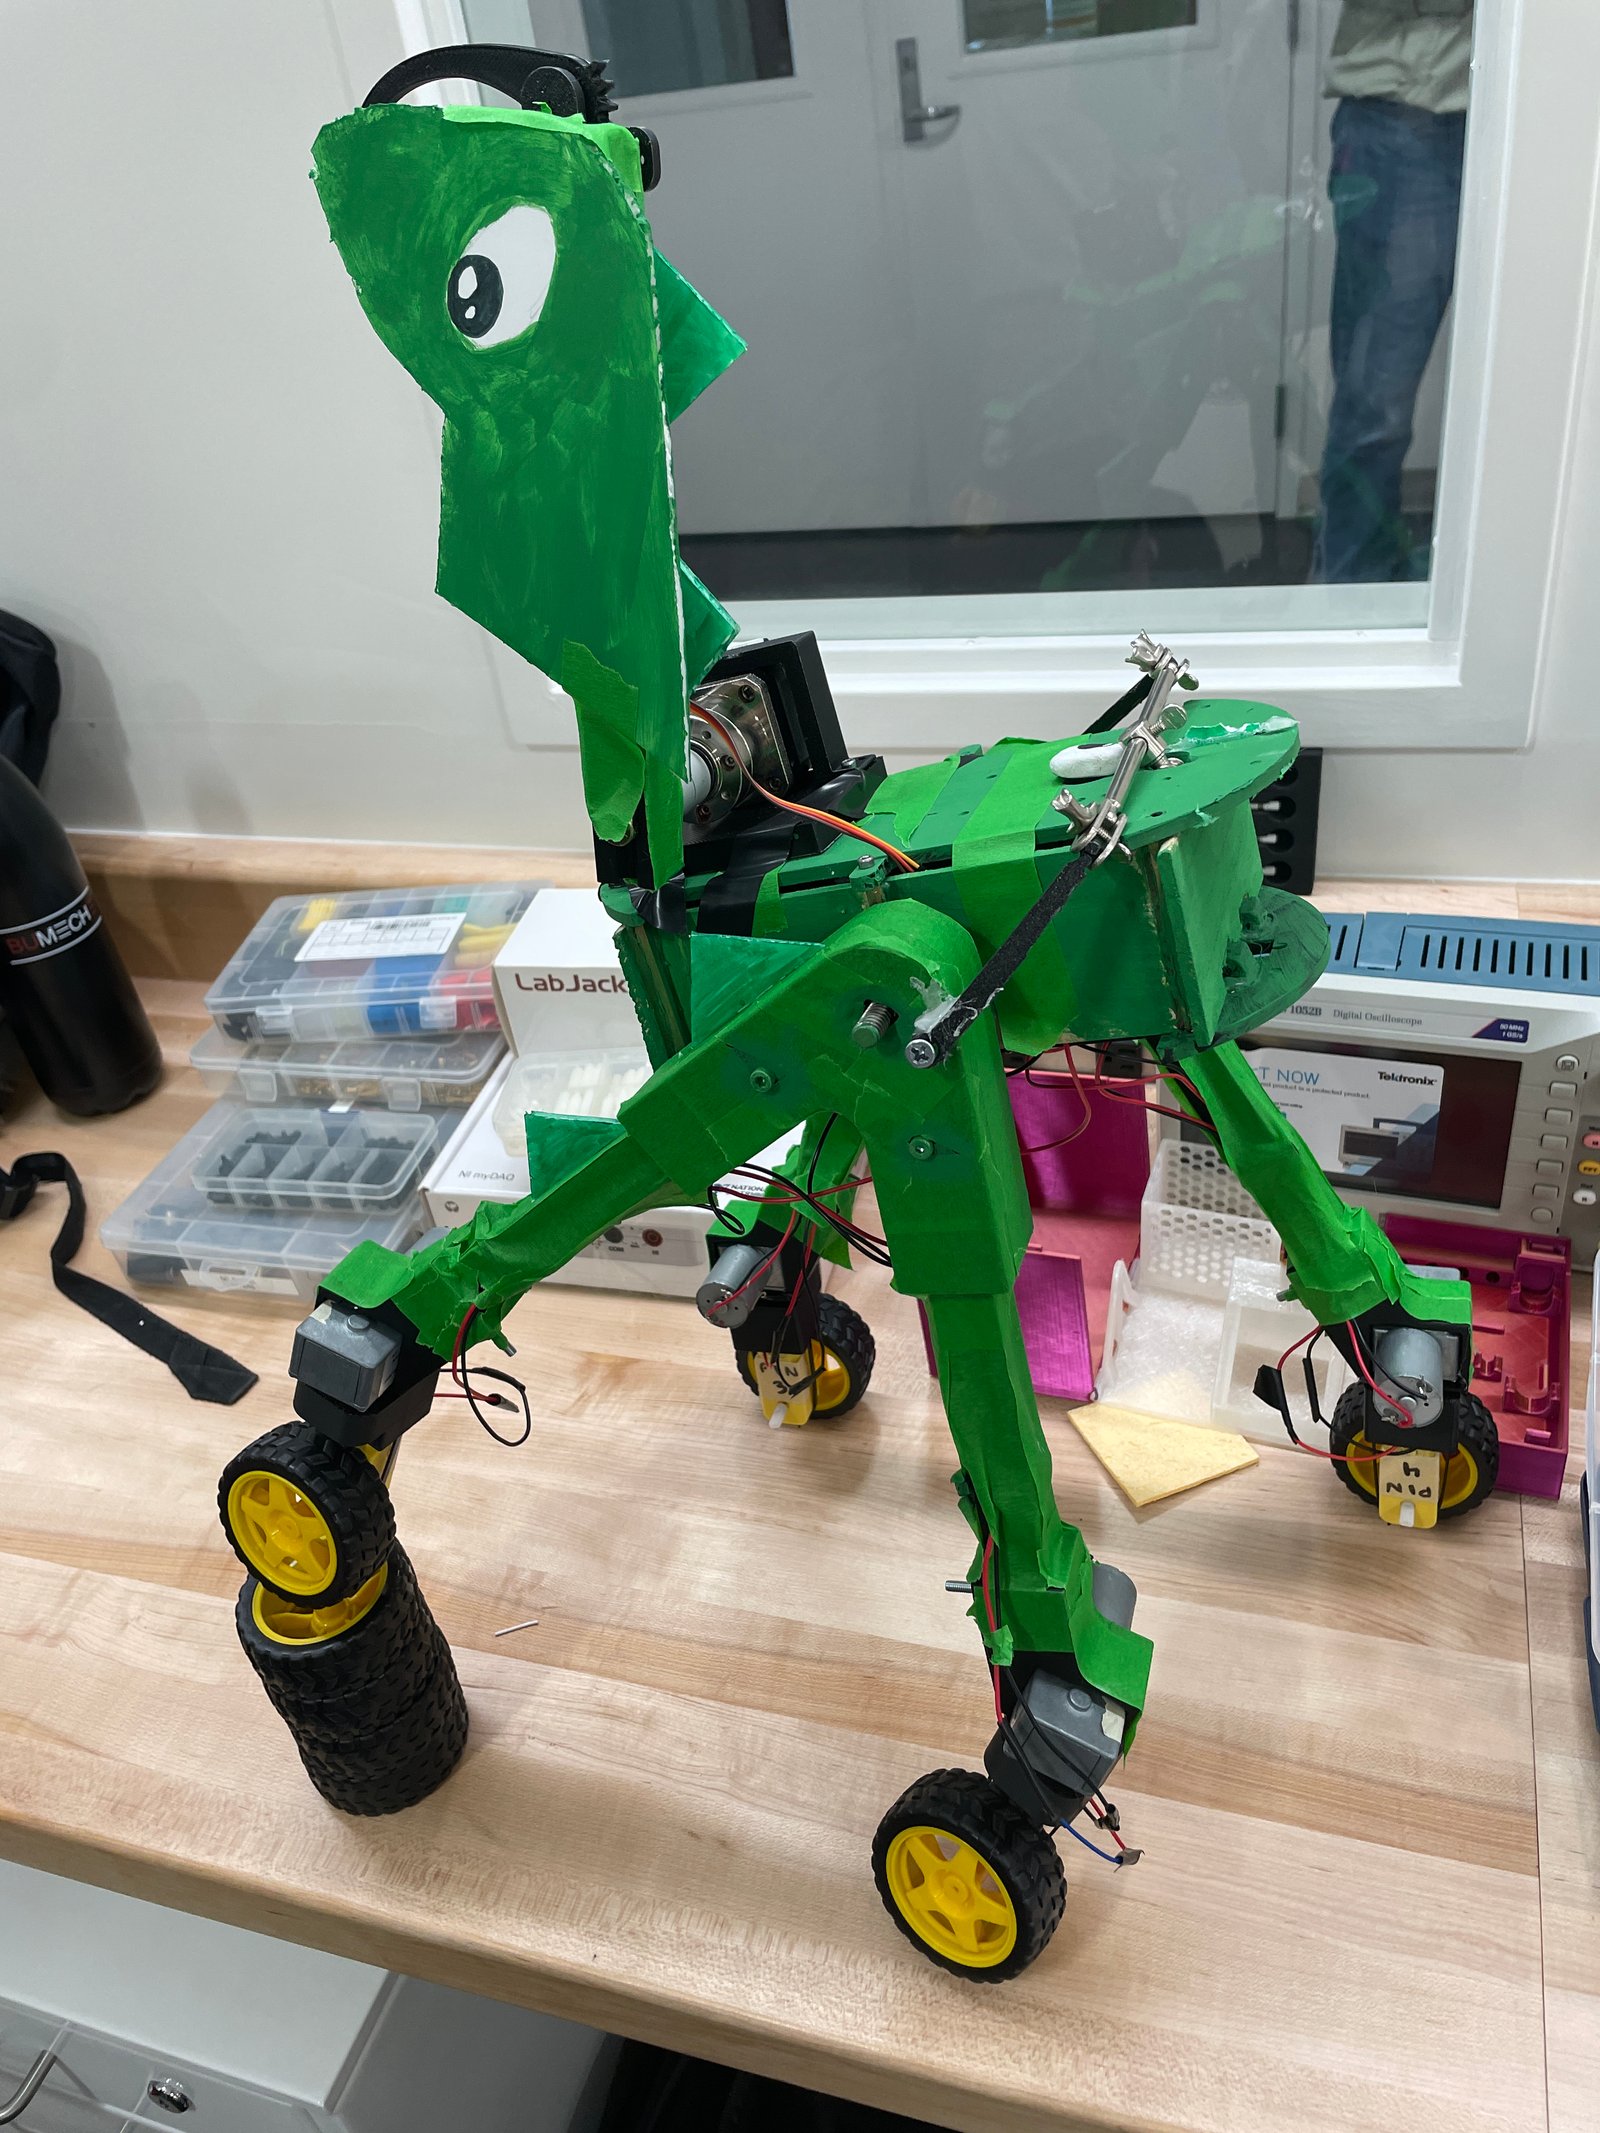
This event was held in collaboration with BU RASTIC (Robotics & Autonomous Systems Teaching Innovation Center) and Hackhardware to bring together a 24-hours Robotics Hackathon where students work in small groups to build and design their own robots; incorporating any functionalities that they can foster while keeping it within the range of realistic applications focused on a spaced dedicated innovation. The foundational supplies provided were Elegoo Smart Robot Kits at which me and my teammates (Charles Van Hook, Madeline Malloy, Ksenia Suglobova) decided to stray away from building the chassis of our robot accordingly for the purpose of creating a more original design aimed to fulfill our goals of durability, mobility, and adaptability to difficult terrains. Tools & Applications that were used for this project were as follows: CAD (Solidworks & Onshape), 3D printing, CNC Machining, Rotorazering, Wire Stripper, Milling & Sawing, Hot Glue Gun, Soldering Board, Drivers, Calibrators, Multi-Meters, Zip Ties, Arduino IDE/C++ Programming. In terms of the electrical components, most of the supplies given in the Elegoo Kit were used: UNO Controller Boards, UNO Relay Shields, Servo & Stepper Motors, Motor Driver Boards, Relays, Power Supply, Dupont Wires, Pin Connectors, etc.
The design of our robot chassis integrates wooden boards and stainless steel sheets from the Elegoo Smart Robot Kits, offering a tailored structure for housing essential electrical components and managing circuitry. Implementing a V-shape suspension-like leg system enhances stability and mobility by linking the wheels to the main compartment, supplemented by a differential bar for improved balance. To achieve autonomous movement and rotation, we incorporated four additional stepper motors alongside the existing four wheels and motors, with one set driving the wheels and the other controlling rotation. The core utility of our robot centers around a robotic arm, powered by a servo motor and featuring a ball joint for rotation, facilitating tasks such as object manipulation and obstacle clearance. Furthermore, employing two motors per wheel enhances maneuverability, enabling the robot to attain full autonomy in navigation. Finally, we utilized CAD design and 3D printing for additional chassis parts to bolster durability and minimize the risk of collapse from impacts, ensuring robustness across various operating conditions.
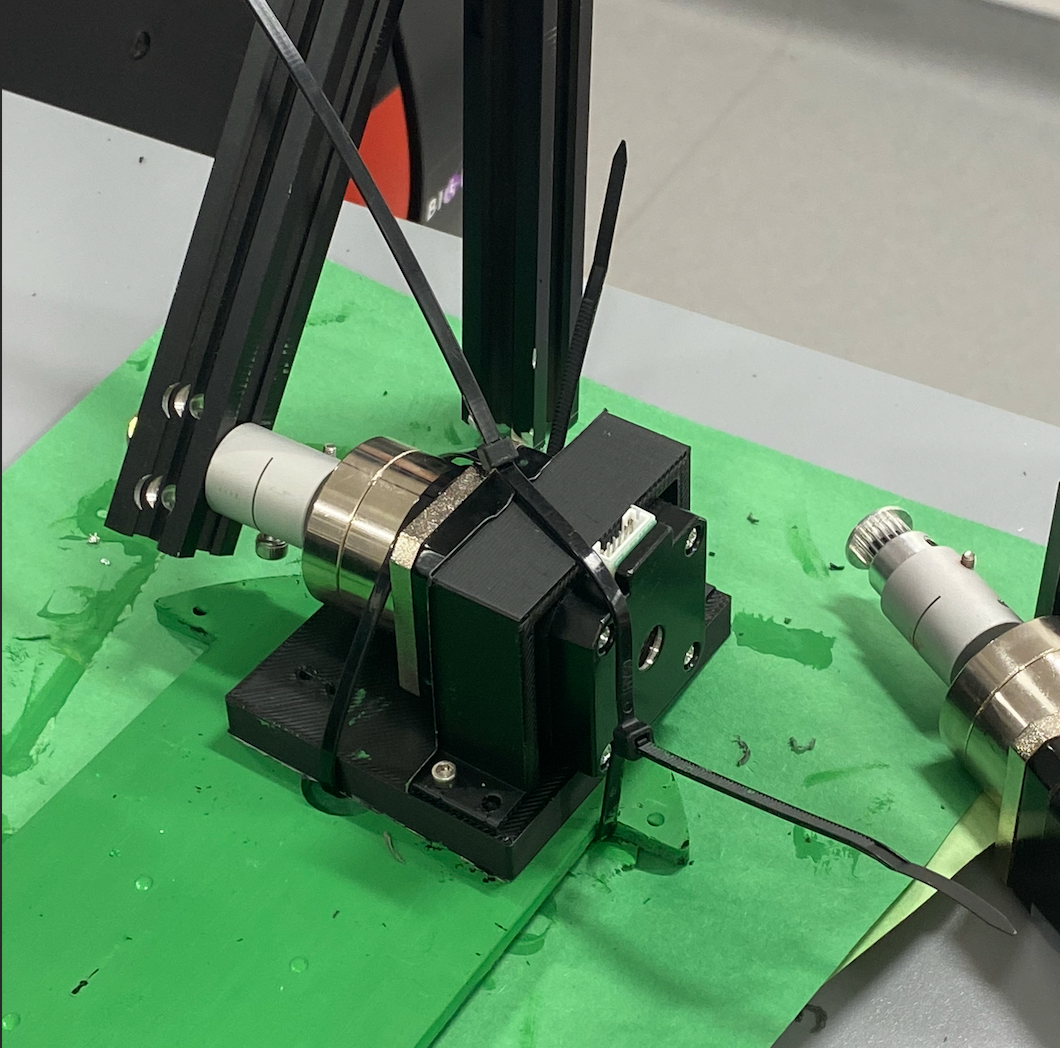
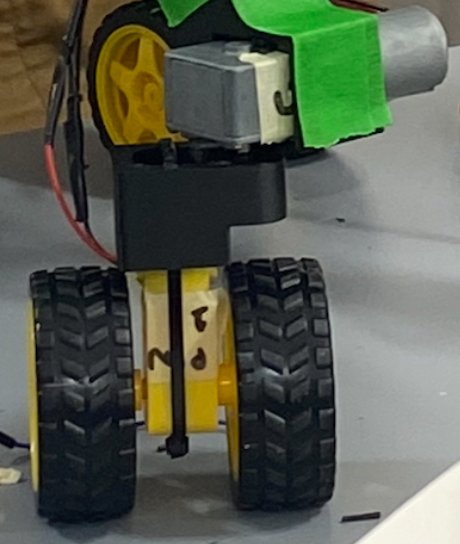
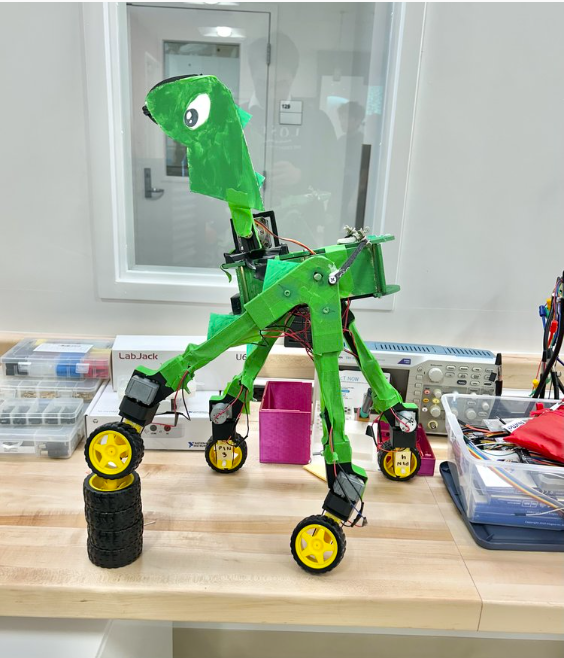
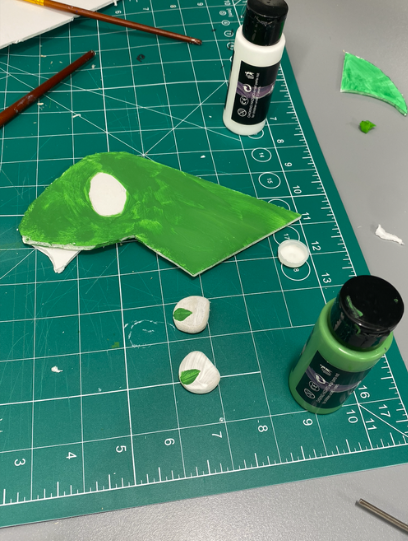
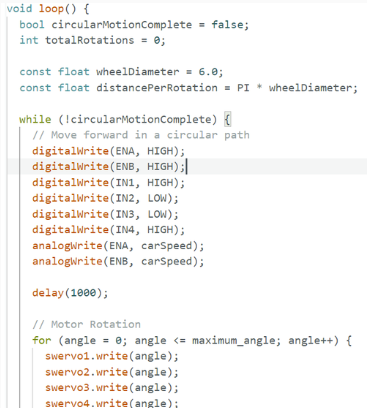
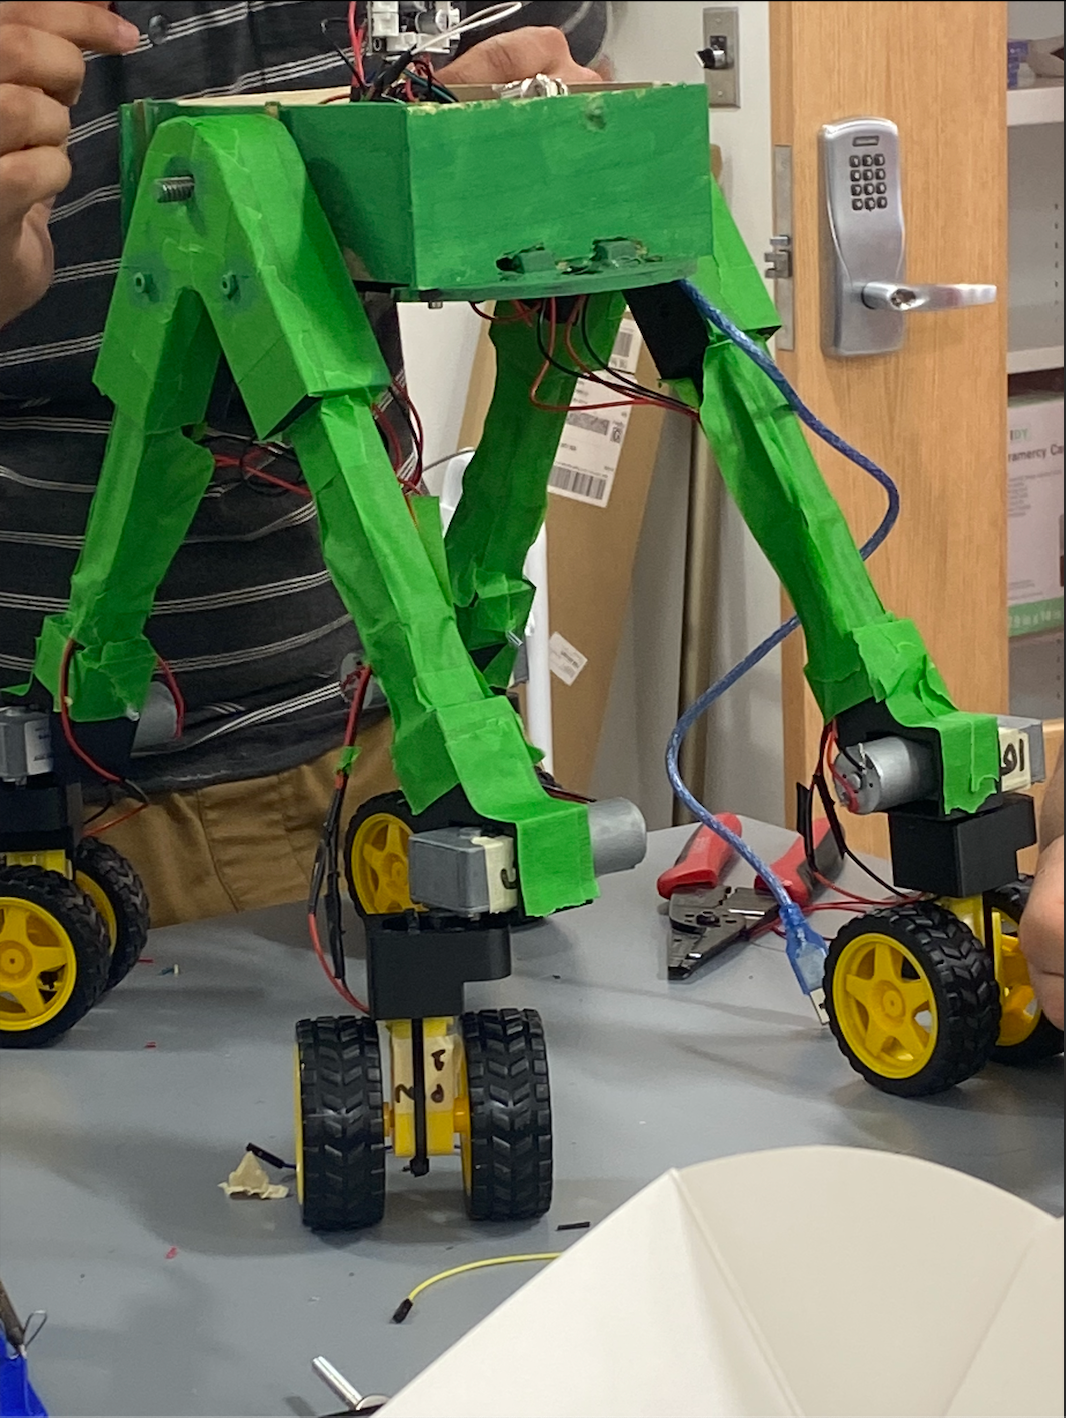
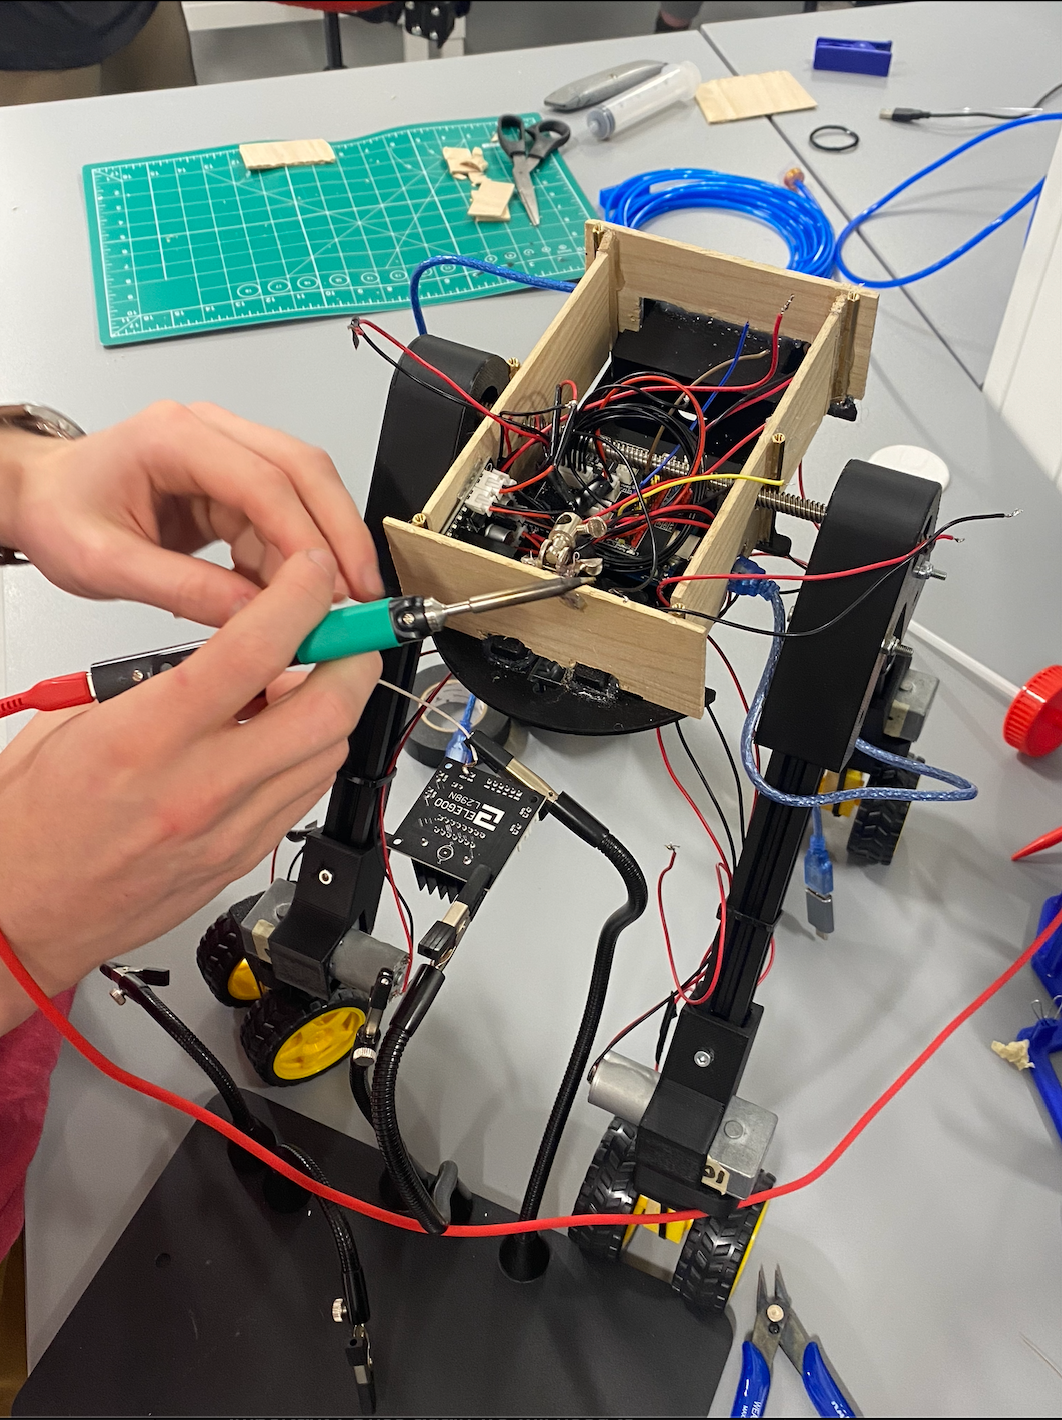
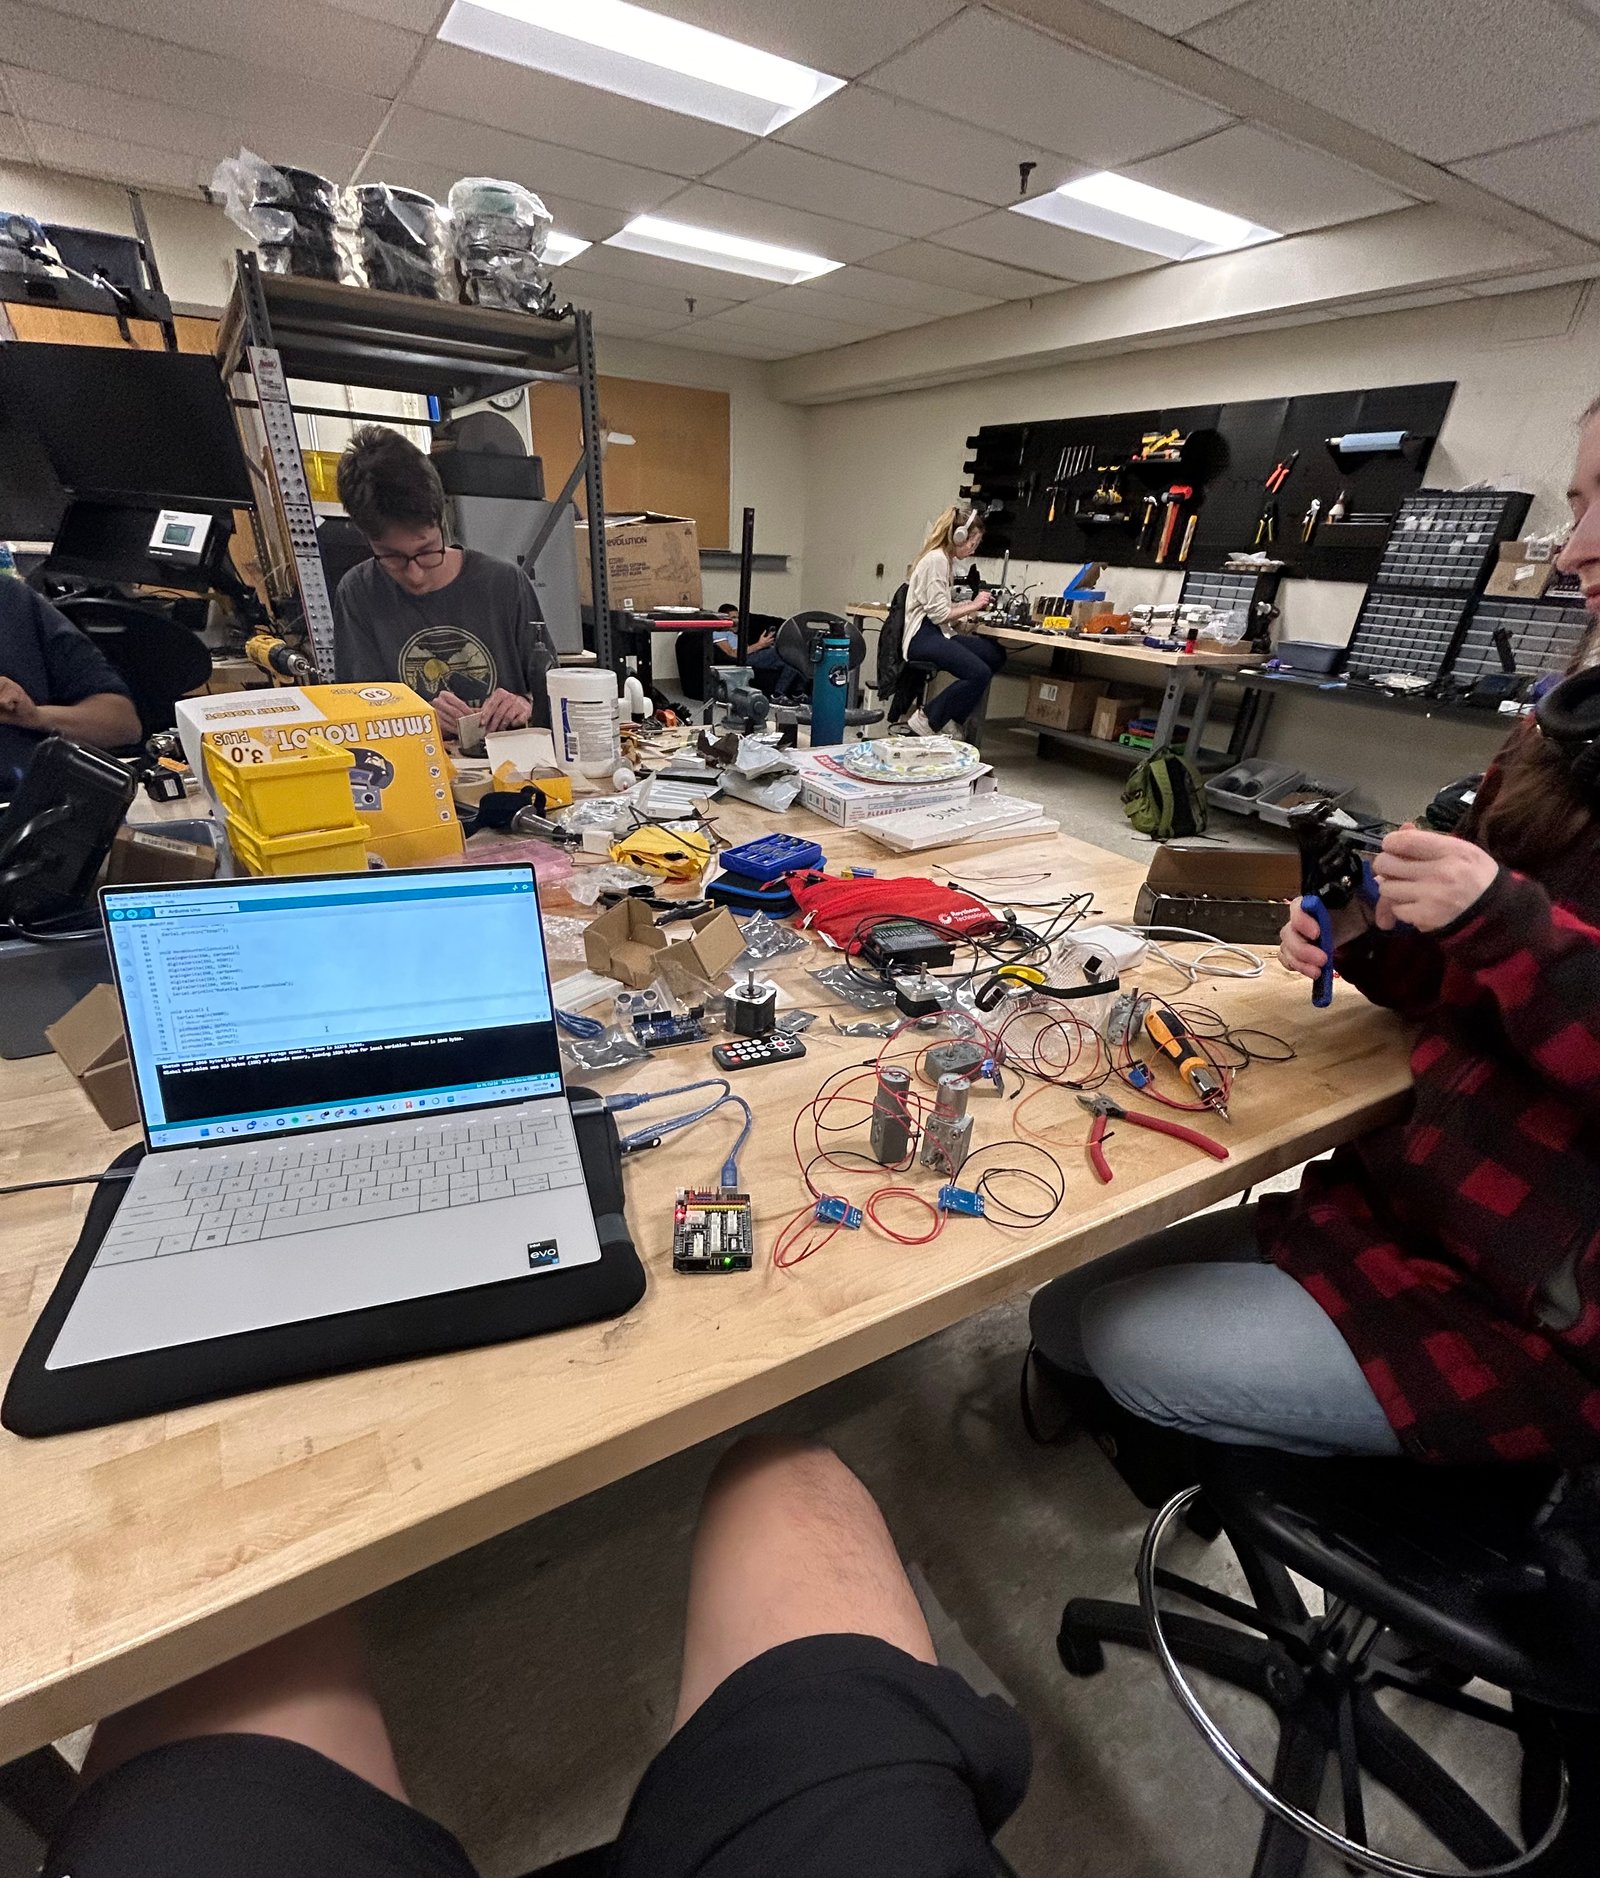
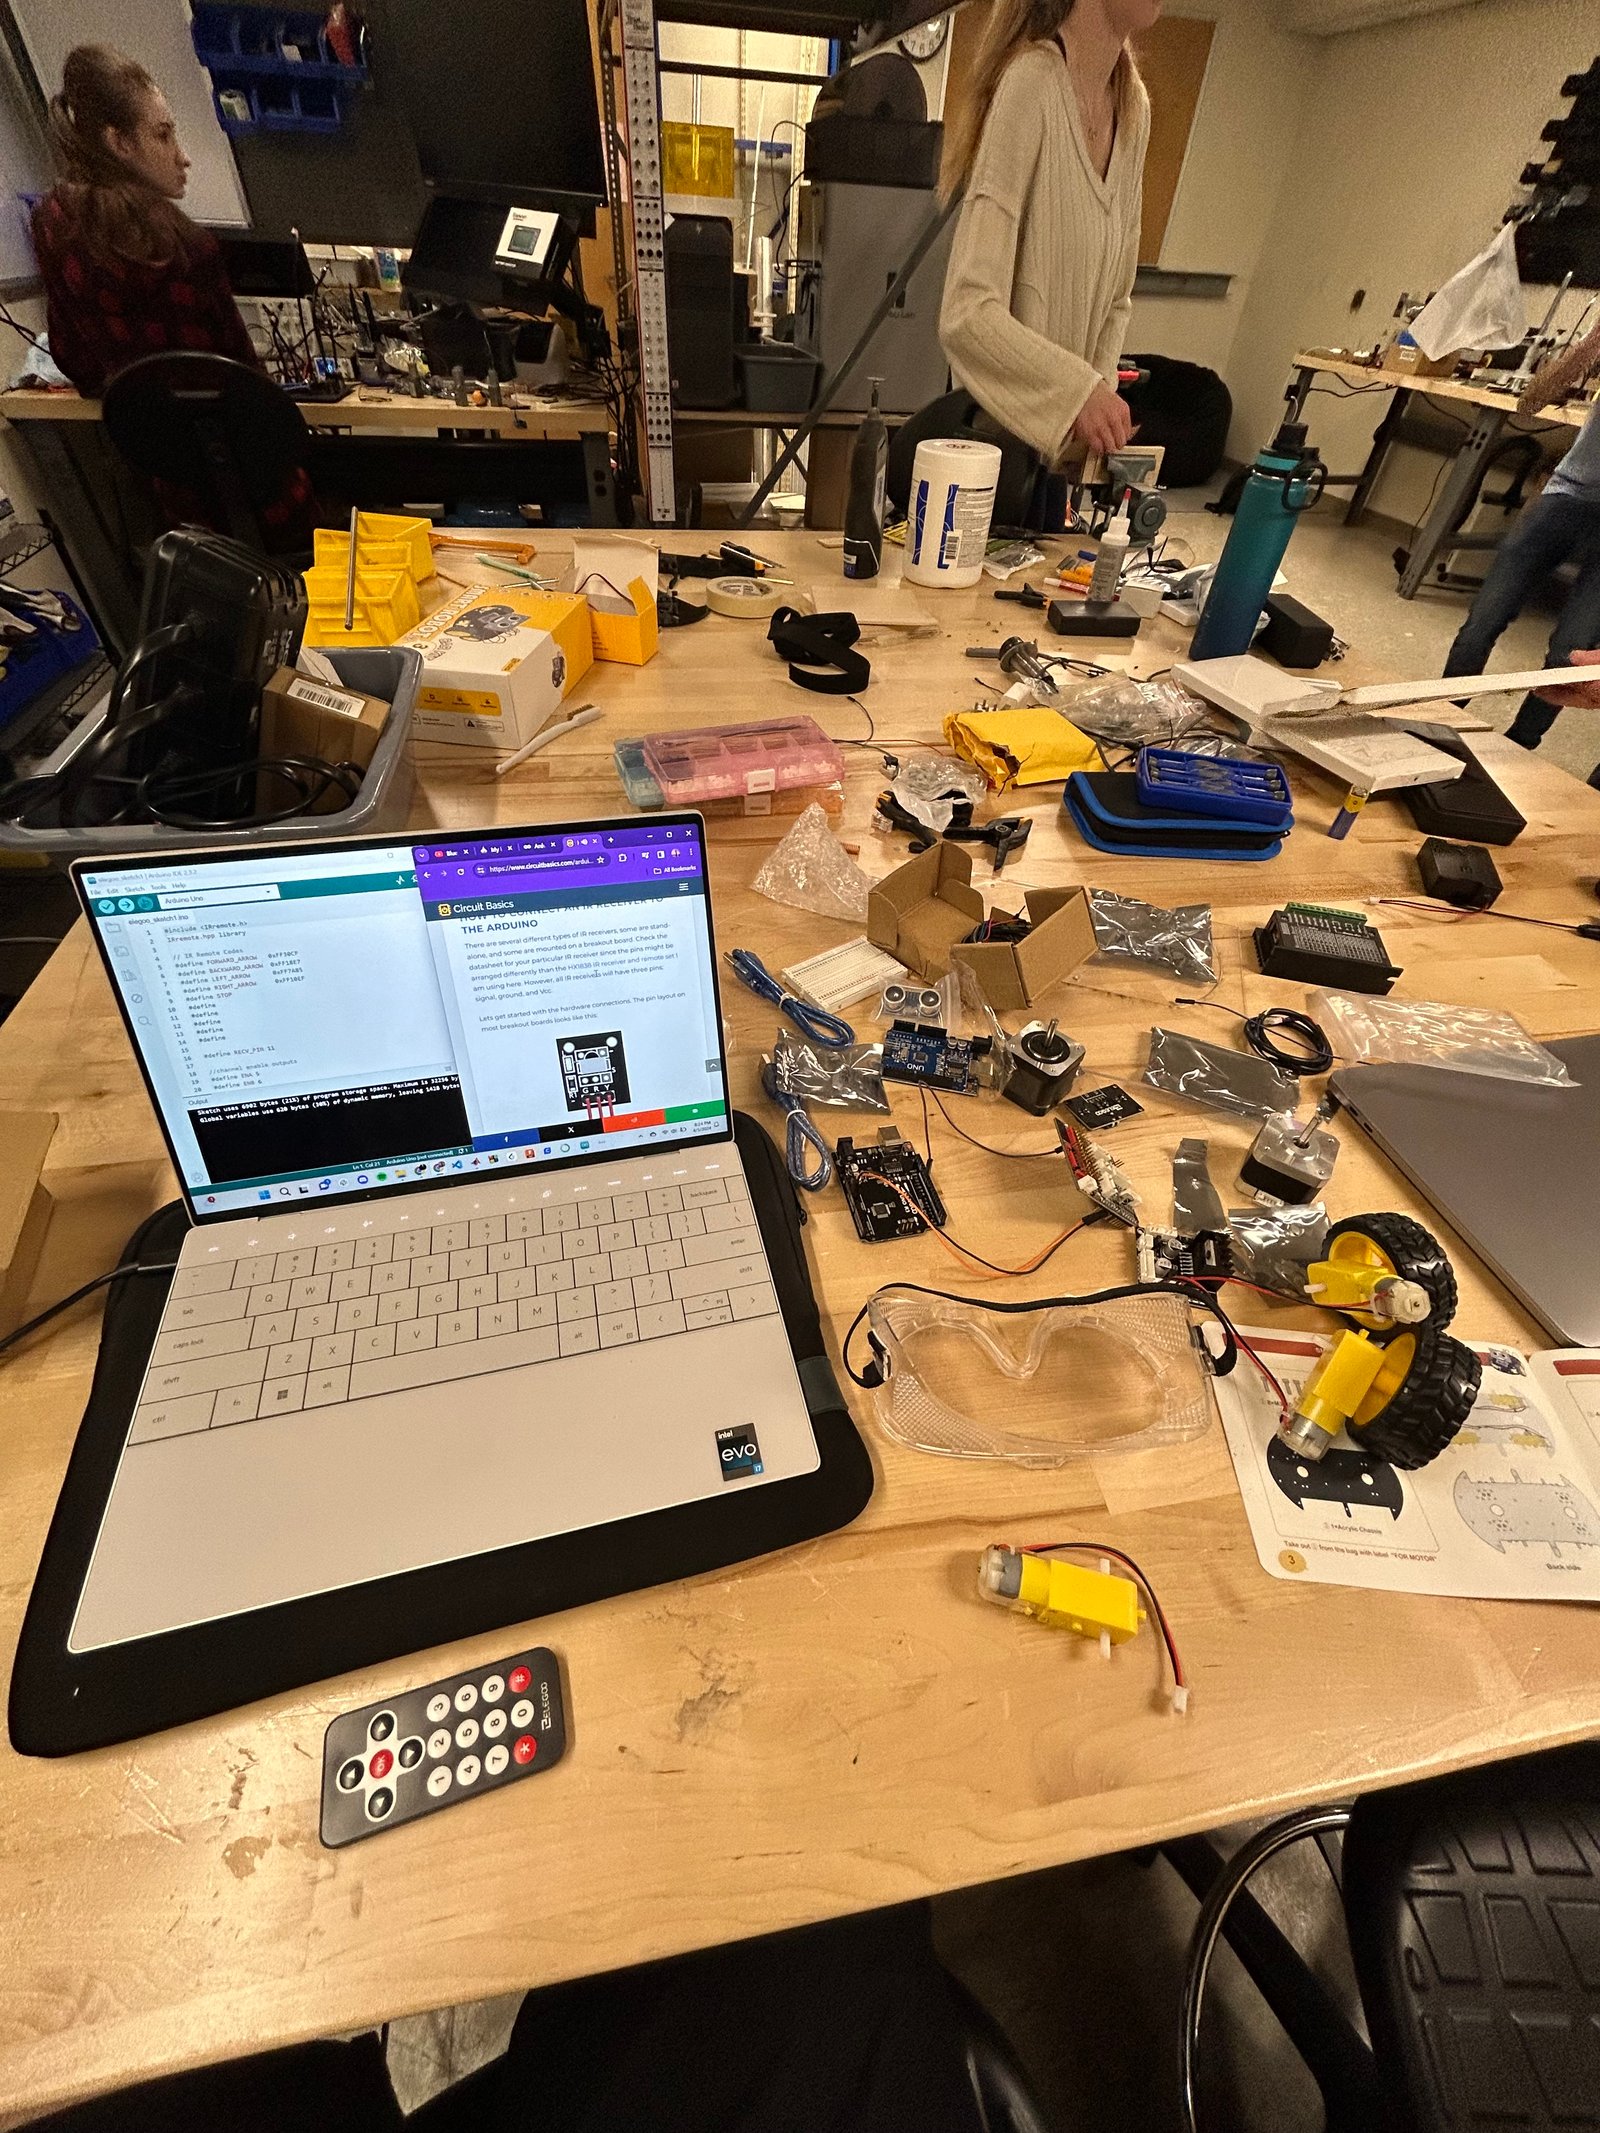
During the first day of the hackathon, we finished the CAD for the grapple arm and leg attachments, but the parts were not ready until the next morning as 3D printing consumed majority our 24 hours. In the meantime, we crafted the chassis from wood and soldering to integrate our additional servo motors into our dual motor system. To accommodate the additional servo motors, we first linked them to motor relays. Subsequently, we soldered these connections to the PWM pins on the motor driver board. This adjustment was necessary since the board was initially designed to handle the solid core wires of the original four servo motors included in the Elegoo kit. Lastly, we were unable to test any code until the rover was fully assembled; originally, we wanted to connect the rover to a controller, but due to competition rules, we were to make the rover move autonomously.
• Gained a better understanding of circuitry, hardware, and how to assemble and operate various electrical components
• Acquired fundamental knowledge in robotics alongside a deeper understanding of diverse motor types and their applications
• How to assess vehicle’s motion by examining the programming of each individual motor; practiced C++ programming
• How a differential bar is designed and machined along with its mechanisms for a moving apparatus
• How to effectively collaborate as a team, communicate efficiently, and allocate tasks productively
• Staying in the lab past midnight and starving
• Learning how to write swerve code and program the robot to move autonomously with two sets of stepper motors
• Assembling our CAD-modeled components of the robot under time pressure, considering the lengthy duration of the 3D printing process which took over half a day
• Repeatedly measuring the voltage due to poor connections between the soldered pins and wires for our stepper motors, necessitating multiple rounds of resoldering
• Proper dimensioning for connecting all the various physical components together, resulting in a rushed final minute assembly involving hasty wood screwing and hot gluing
• Never forget to charge the power supply!